 |
| Home | Solutions/Products | Deployment/Installation | About Cryptography | User Manual | Tutorial | FAQ |
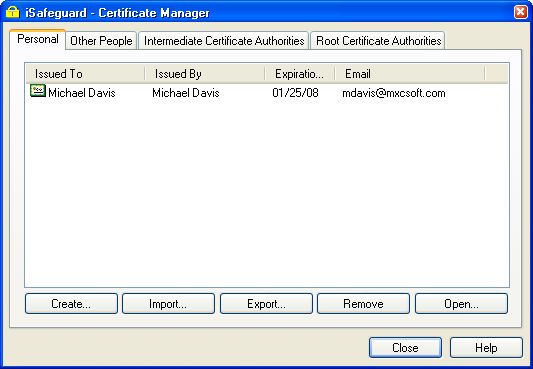
Managing Keys And CertificatesIn this section we will describe how to use iSafeguard™ Certificate Manager to manage your keys and certificates as well as using the Certificate Viewer to examine the contents of X.509 certificates and set certificate trust. If you are not familiar with keys and certificates you may go back to read Introduction to Cryptography section. iSafeguard™ Certificate ManagerA screen shot of iSafeguard™ Certificate Manager is shown below. There are four tabs in iSafeguard™ Certificate Manager:
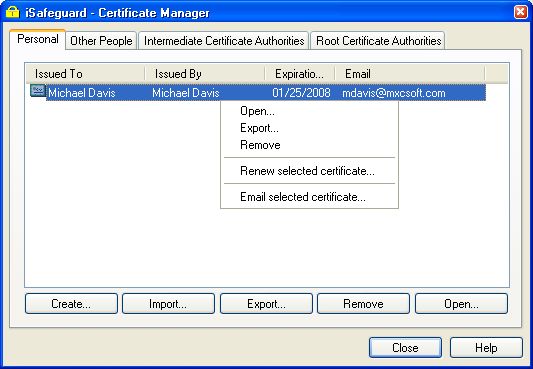
iSafeguard™ Certificate Manager supports context menu, i.e. you can right click your mouse button to select a command instead of using the buttons. An example of the context menus is shown below.
To start iSafeguard™ Certificate Manager:
The following screen shot shows you where the taskbar icon locates and the content of the popup menu. 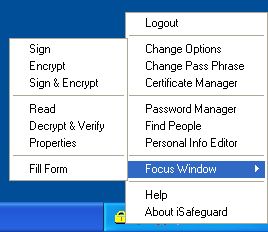
The following table summarizes the functions of iSafeguard™ Certificate Manager.
To create a new certificate (and key pair):
To import a certificate:
Or alternatively you can drag a certificate/key file from Windows Explorer to the Certificate Manager. Then following the wizard to import the certificate. If you receive a certificate from someone in email you can select the base64 text and then drag and drop the selected text to iSafeguard™ Certificate Manager. Or simply use the hotkey feature (Ctrl+Shift+P). To export a certificate:
Or alternatively you can drag a certificate from iSafeguard™ Certificate Manager and drop it to your email program (or other applications). However when using drag and drop you can only export the standard X.509 certificate. You can neither export your private key nor extended certificate properties using drag and drop. To remove a certificate:
To renew a certificate:
To email a certificate:
Certificate ViewerYou may use the Certificate Viewer to examine the content of a X.509 V3 digital certificate and set trust for self-signed certificates as shown in the following figures. The first screen shot shows the General tab that highlights the general information about the certificate.
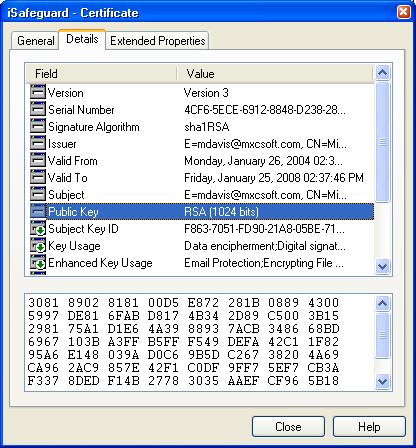
The second screen shot shows the Detail tab with the public key selected - the public key is displayed in the lower portion of the viewer.
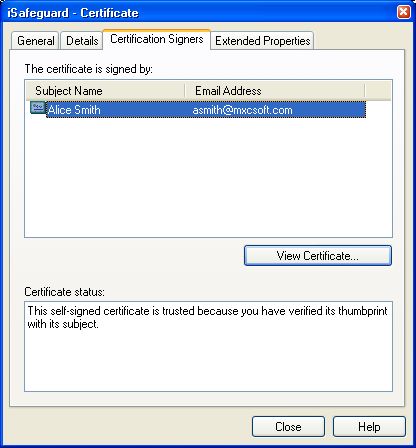
The above examples show a self-signed certificate with private key. Now let's take a look at the viewer when viewing a self-signed certificate without private key. From the screen shots you can see that there is new tab called Certificate Signers. This tab lists all the signers of the certificate.
In the above example there is one signer Alice Smith. If you have verified her certificate's thumbprint you may choose to trust the certificates with her digital signatures. To better understand a X.509 certificate, open the certificate with the certificate viewer and click on different fields to examine its details.
Finding the Thumbprint of A CertificateTo find a certificate's thumbprint
The string display in the lower window is your certificate's thumbprint that is a 40 digit hex number. You use this number (thumbprint) to verify the genuineness of a certificate. The thumbprint will never fool you. Setting Trust for Self-signed CertificateTo set trust of a self-singed certificate
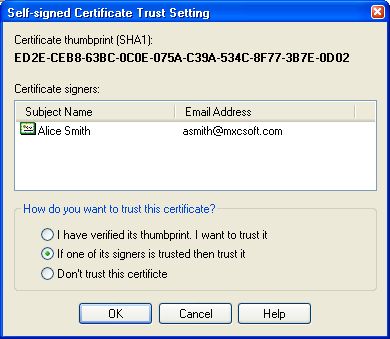
A screen shot of the certificate trust setting dialog box is shown in the figure below.
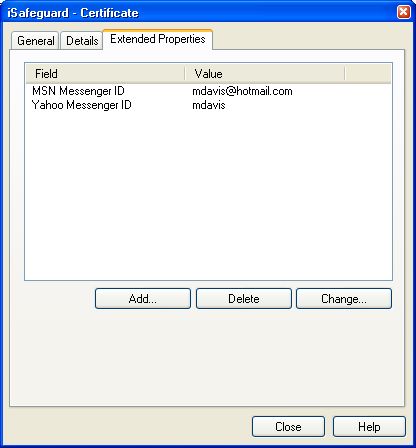
In this example you may choose to trust the certificate directly after having verified the thumbprint, or trust its signers, or not trust it at all. Extended Certificate PropertiesAn extended certificate property is attached the certificate but not part of the certificate itself. iSafeguard™ uses extended certificate to store extra information, such as the certificate owner's instant messenger ID. A screen shot is shown in the following figure.
iSafeguard™ uses the instant messenger IDs to find the certificates to sign and encrypt a session key when you start a secure instant message session. Drag and Drop SupportsTo import a .cer, .xcc or .xck file using drag and drop
To import a certificate, extended certificate or private key that is base-64 encoded text directly from your email program
To export a certificate from iSafeguard™ Certificate Manager directly to your email program as base-64 encoded text
However you can only export standard certificate when you drag and drop a certificate to an application that supports drag and drop. Neither extended properties (including certificate signers) nor private keys can be exported this way. |
 on the taskbar;
 Note: When you export your certificate
along with your private key, your private key are encrypted with a session key derived
from your login name and a pass phrase you provide. Therefore you must enter the
same login name and pass phrase to decrypt the certificate and private key when
you import them back to your profile.
Note: When you export your certificate
along with your private key, your private key are encrypted with a session key derived
from your login name and a pass phrase you provide. Therefore you must enter the
same login name and pass phrase to decrypt the certificate and private key when
you import them back to your profile.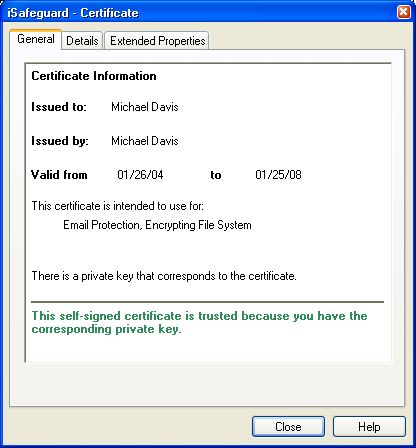
| Trademarks | Copyright ?2001-2007 MXC Software. All rights reserved. |